Exterior Door Handle Repair: A Comprehensive Guide
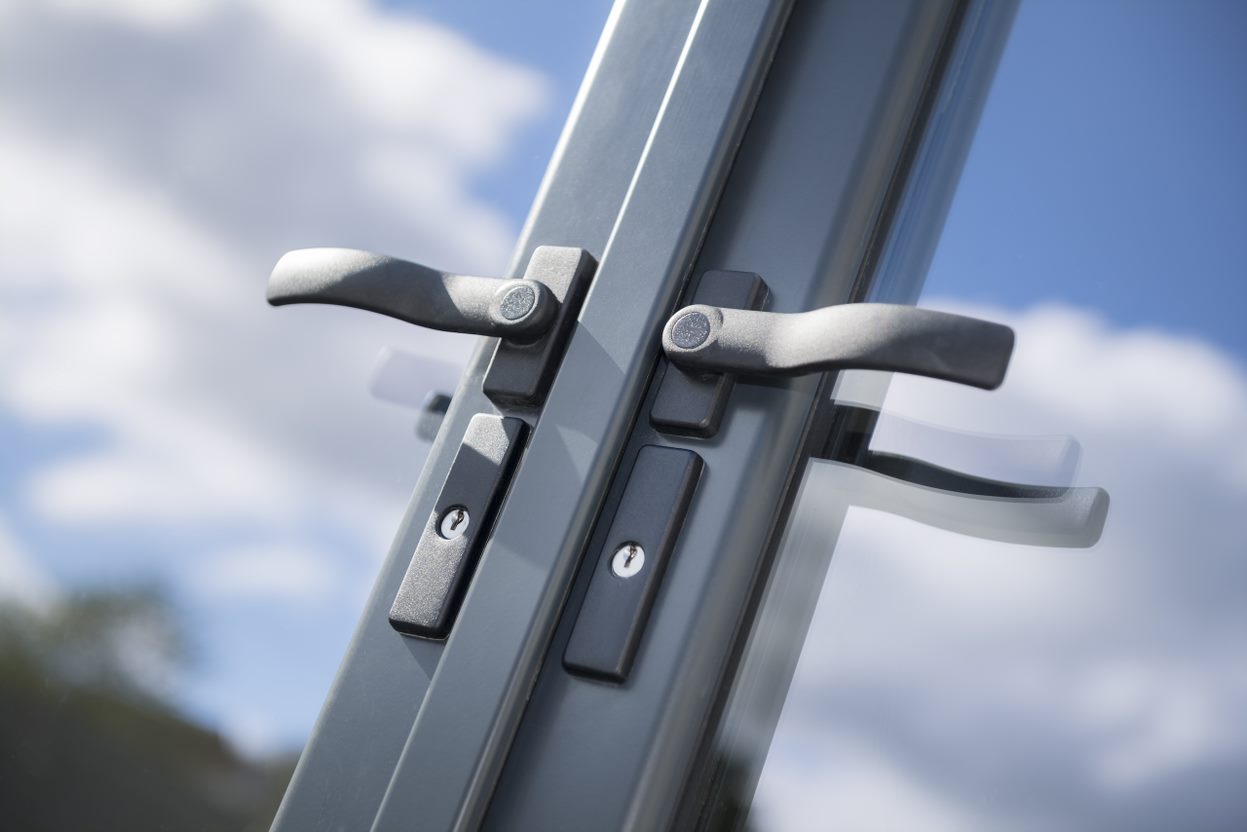
Exterior door handles function as the gateway to homes and organizations, providing both function and aesthetic appeal. In time, wear and tear, ecological elements, and basic usage can take a toll on these necessary parts. Acknowledging when a door handle needs repair, understanding the different kinds of repairs needed, and understanding how to finish them can save property owners time and money. This article supplies a comprehensive guide to exterior door handle repair, offering readers the knowledge they require to address common issues efficiently.
Common Problems with Exterior Door Handles
Before delving into repair methods, it's essential to determine the most common problems experienced with exterior door handles:
- Loose Handles: Over time, screws might loosen, triggering the handle to wobble or end up being inadequate.
- Sticking Handles: Environmental factors, dirt, or a misalignment of the door can cause the handle to stick.
- Broken Mechanism: The internal mechanism that links the handle to the lock might break, rendering the handle unusable.
- Rust or Corrosion: Metal handles can suffer from rust, especially if exposed to moisture or damp environments.
- Surface area Damage: Scratches, dents, or paint peeling from the handle can interfere with the appearance and functionality of the door.
- Key Issues: Sometimes, problems extend beyond the handle itself and include issues with cylinder locks or essential mechanisms.
Tools and Materials Needed for Repairs
Effective exterior door handle repair requires a set of tools and materials, which might differ based on the specific concern. Below is a list of essential products for most repair tasks:
Tools
- Screwdriver: A flathead and Phillips screwdriver for removing screws.
- Allen Wrench: Needed for handles protected with hex screws.
- Pliers: Useful for gripping and twisting persistent screws or components.
- Energy Knife: For scraping away paint or particles if necessary.
- Drill: In case brand-new holes need to be drilled.
Products
- Replacement screws: If existing screws are removed or broken.
- Lubrication (like WD-40): To minimize friction in sticking handles.
- Replacement parts: Depending on the issue, this might include a totally brand-new handle or internal mechanism.
- Sandpaper or steel wool: For cleaning up rust or surface area damage.
- Paint or spray finishing: To touch up the handle's appearance if required.
Step-by-Step Repair Guide
Action 1: Identify the Issue
Before starting any repair, assess the handle's condition. Is it loose, sticking, or broken? Understanding the specific problem will guide the repair process.
Action 2: Gather Necessary Tools and Materials
When the concern has been recognized, gather all required tools and products to prevent disruptions during the repair procedure.
Step 3: Remove the Handle
- Use a screwdriver or Allen wrench to get rid of screws holding the handle in location.
- Carefully remove the handle from the door, taking care not to harm the door surface area.
Step 4: Inspect and Clean
- Analyze the removed handle and the installing area for any signs of wear, damage, or rust.
- Tidy the handle with a degreaser, and use sandpaper or steel wool to eliminate rust if relevant.
Step 5: Address the Specific Problem
- Loose Handle: Tighten the screws. If they are removed, replace them with new screws that fit correctly.
- Sticking Handle: Lubricate the mechanism and ensure that the door is properly aligned with the frame. Consider adjusting the hinges if needed.
- Broken Mechanism: Replace the broken parts. Different door handle sets are available at hardware stores that consist of replacement parts.
- Rust or Corrosion: Treat the affected areas with rust cleaner, then repaint or reseal the handle for defense.
- Surface Damage: Touch up with paint or refinish the surface area to restore its appearance.
Action 6: Reassemble the Handle
As soon as repairs are completed, reattach the handle to the door. Ensure all screws are tightened appropriately.
Action 7: Test the Handle
After reassembly, test the handle to verify it operates efficiently and successfully. Make door handle fixer to try locking and unlocking if relevant.
Step 8: Regular Maintenance
To extend the life of exterior door handles, routine maintenance is crucial. This consists of:
- Inspecting for rust and cleansing periodically.
- Oiling moving parts every few months.
- Tightening up screws as required.
Frequently Asked Questions About Exterior Door Handle Repair
Q1: Can I repair my door handle without replacing it?
A1: Yes! Lots of issues with door handles, like loose screws or sticking systems, can be solved without the need for replacement. Regular maintenance can likewise extend the life of your handle.
Q2: What if my door handle keeps getting loose?
A2: If your handle continues to get loose, check for removed screws and replace them. Furthermore, think about utilizing thread-locking adhesive to protect screws better.
Q3: How do I avoid rust on my door handle?
A3: Keep the handle clean and dry, especially in damp environments. Using a protective finishing or paint can likewise help prevent rust.
Q4: When should I consider changing my door handle?
A4: If the handle is severely damaged, rusted beyond repair, or if the internal mechanism stops working consistently, it may be time to consider a replacement.
Q5: Are all door handles the exact same?
A5: No, door handles come in many designs, sizes, and mechanisms. It's vital to pick a replacement that matches the existing handle's specs for appropriate function.
Exterior door handle repair might appear challenging, however with the right tools and knowledge, a lot of homeowners can efficiently address common issues by themselves. By understanding the kinds of problems that can develop, knowing how to diagnose and repair them, and following a routine maintenance routine, people can guarantee their door handles remain practical and appealing for many years to come. In addition, keeping a proactive method to small repairs can prevent more substantial issues down the line, eventually saving time and cash.